

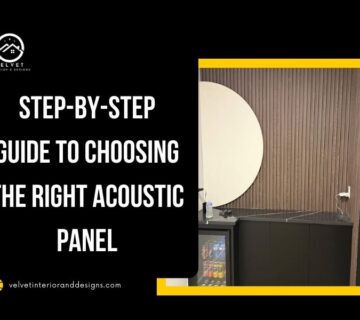
How to install acoustic panels is a common question nowadays due to the Acoustic wall panels’ many features in reducing echo and improving sound quality in a room. So it must be installed in a proper way to achieve a clean result following exact steps.
Why install acoustic wall panels in canadian homes, offices, and commercial spaces? The acoustic panels help to improve speech clarity and music quality; they are commonly used in studios, offices, home theaters, and conference rooms.
It comes in various materials, including foam, fabric-wrapped fiberglass, and wood, available in different sizes and thicknesses. To be installed on walls or ceilings, depending on acoustic requirements.
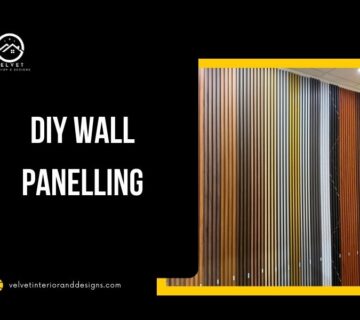
These panels are easy to install, suitable for DIY projects, and can be fixed using just adhesives. They can also be customized to fit corners, edges, or specific designs. At the same time, the panels are cost-effective compared to the structural soundproofing cost.
How to install acoustic wall panels
Installing acoustic panels requires following the steps to achieve a clean result. Here are the steps on how to install acoustic panels on wall:
- Measure the wall and plan the panel layout.
- Determine the best mounting: glue, screws, clips, or adhesive tape, depending on the panel types and weight.
- Clean the wall and make it dry before installation.
- Mark reference lines using the level and pencil.
- Trim panels if needed to fit the corners and edges.
- Start from the center point of the wall and apply the adhesive.
- Position each panel carefully and press firmly.
- Check alignment with a level.
here are a full guide on where to place acoustic panels in homes or offices
How to install acoustic panels on ceiling?
Installing acoustic panels on the ceiling is used for controlling the echo and reducing the noise. To install an acoustic panel on the ceiling, follow these steps:
- Determine the ceiling type because the mounting method will differ if it is concrete, drywall, or a drop ceiling.
- Start to plan the panel layout and select the main sound reflection points.
- Measure the ceiling and mark the fixing points; you must use the level to ensure accurate alignment.
- Choose the installation method: adhesive – screw – suspension cables – grid systems. Depending on panel weight, for heavy panel use screws for lightweight panels. Use adhesive. For high ceilings, use suspension cables
- Check the weight load capacity of the ceiling before installation.
Note: required installation tools are drills, anchors, measuring tape, safety ladders, and protective equipment.

How to install acoustic panels on concrete?
The concrete surface requires a special fixing method; it is hard and does not hold standard screws. Follow the steps to install acoustic panels on concrete:
- Check the wall condition.
- Clean and dry the wall.
- Plan panel layout.
- Use a measuring tape and level for better alignment.
- Wear protective gear such as safety glasses and a dust mask.
- Use wall plugs with screws to achieve a secure result.
- Use a hammer drill for clean holes in concrete.
- The adhesive is only used for lightweight panels.
- For removable panels, use Z-clips or mounting.
Avoid common mistakes when installing acoustic panels and learn expert tips to achieve the best sound performance and finish for your space today.
How to attach acoustic panels to a plastered wall
To install an acoustic panel on a plastered wall, you must first check the wall’s condition. Is it solid, smooth, and free from cracks or loose areas? Then follow these steps to install it properly:
- Clean the wall from dust, grease, and moisture.
- Plan the pane layout.
- Measure the wall and mark guidelines to achieve accurate results.
- Use adhesive for lightweight panels or high-bond mounting tape.
- Apply adhesive on the wall and the panel to ensure full surface contact.
- Press the panel firmly against the wall for a few seconds.
- Use screws with plugs for heavier panels.
- Or use Z-clips or mounting brackets if you want removable panels.
- Maintain equal spacing between panels for a professional appearance.
- Use the level to ensure an aligned result.
How to install acoustic panels without damaging walls
To install acoustic panels without damaging the wall, use the lightweight panels because they require a non-invasive mounting method or the high-bond removable adhesive strips; they were designed for safe wall installation.
There is the Velcro method, which is a hook-and-loop fastener way that allows the panels to be removed or repositioned without leaving any marks on the walls. Or you can even install the panels on freestanding frames or acoustic stands instead of fixing them directly to the wall.
How to cut acoustic panels around sockets
- Turn off the power for safety.
- Measure the socket position from the nearest edges.
- Outline the cut area in the back of the panel.
- Wear protective gear such as gloves, safety glasses, and a dust mask.
- Cut the panels using a utility knife for foam or a jigsaw or fine-tooth saw for wood or MDF panels.
- Cut the opening slightly smaller than the marked outline
- Test the panel on the wall before installation.
- Put the proper mounting method in place and reinstall the socket cover.
Why Choose Acoustic Panels from Velvet Interior Design?
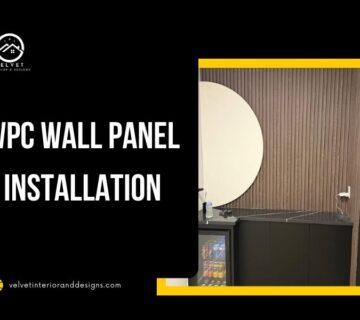
Velvet Interior Design offers a wide range of acoustic wall panels for both walls and ceilings, available in a variety of surface finishes to suit different interior styles. Designed to be lightweight and easy to install, these panels can be securely fixed using strong adhesive without complicated tools. Acoustic wood wall panels come in a broad selection of colors, making it simple to match any decor while still providing a cost-effective solution for improving sound quality and enhancing the overall look of your space.
FAQs about how to install acoustic panels
What is the best way to mount acoustic panels?
The best way to mount acoustic panels is with adhesive, but it depends on the panel being lightweight and the wall being a smooth surface.
The double-sided tape is just for small panels, and the screws are for the heavy and large panels, but they require a professional to install them.
There are other methods to mount acoustic panels, like clips or z-clips, which are easy to remove or reposition.
Do you screw or glue acoustic panels?
Screwing or gluing depends on weight, size, and wall surface; the glue is best for lightweight panels, using a strong construction adhesive, which is easy to install, and is not ideal for heavy panels. The screw method is best for the heavy panels; it is very secure and easy to remove.
Is it better to nail or glue panelling?
Nail or glue panelling are both better depending on the panel weight. Nailing provides a stronger, long-lasting hold for heavy panels, but glue is better for lightweight panels.
Can you install acoustic panels yourself?
Yes, you can install acoustic panels yourself; most of the panels are lightweight and suitable for DIY projects for homes and offices. It requires basic tools like a level, measuring tape, pencil, and strong adhesive.

