

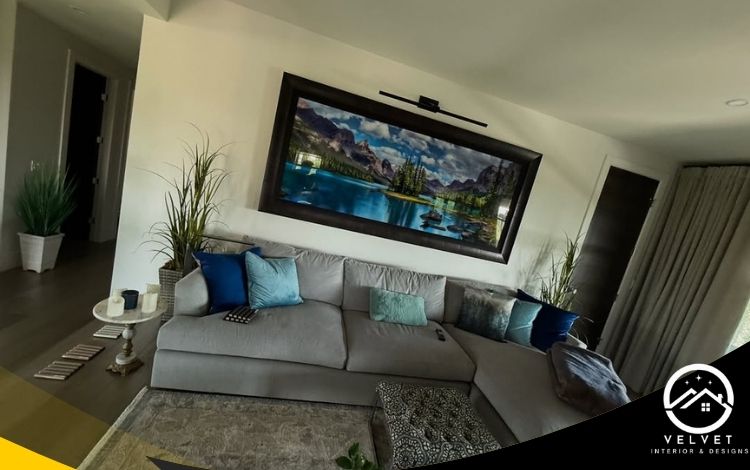
How to install 3D marble? This question is mainly asked by Homeowners, DIY Enthusiasts, Interior Designers, Contractors or Installers, Budget-Conscious Consumers, and Real Estate Agents who enhance the property listings.
They are interested in the 3D marble panels on the wall, or wood or other applications, in terms of practicality, cost-efficiency, and overall feasibility. Therefore, let us provide a complete guide on How to install 3d wall panels efficiently.
How to install 3D Marble on a wall?
The 3D marble on a wall is natural marble that offers the elegant and luxurious appearance of real marble and is valued for its durability that can last 10 to 20 years or more. Let’s discover together step by step how to install 3D marble:
1- Gathering the tools and materials needed, including:
Tools:
- Trowel
- Level
- Measuring tape
- Utility knife
- Grout float
- Sponge
Materials:
- 3D marble tiles
- Thin-set mortar (appropriate for your surface)
- Grout
- Tile spacers
- Sealer (if required)
2- Prepare the Surface by cleaning the floor, wall, or other space; ensure it is level and smooth. (Note: you can use self-leveling compound to be more sure.)
3- Plan the Layout by measuring the installation space, then create a layout plan, and then use chalk to line the first tile. (Note: start from the center).
Mix the Thin-Set Mortar by following the instructions provided in the package.
Note: mix it until it’s the right thickness.
Notes+: The right thickness for a thin-set mortar application is typically \(3/16\) inch or less.
4- Apply the Mortar using a trowel, then create ridges in the mortar with the notched side of the trowel.
Note: The trowel is a small handheld tool with a flat, pointed blade, used to apply and spread mortar.
5- After installing the First Tile, you should use the level to ensure the tile is flat and smooth.
6- Continue with the rest of the tiles, ensuring the alignment by using the level.
7. Cut Tiles as needed in the edges or corners with a cutter or knife.
8- Let the Mortar Set for about 24 hours.
9- Grout the Joints after it sets, and remove the tile spacers.
10- Mix the grout (using a grout float tool), then clean the excess grout.
11- Allow Grout to Cure:
12- Seal the Tiles if required.
How to install 3d marble on wood?
The 3D Marble features lightweightness, durability, and cost-effectiveness. As well, it is easy to install and doesn’t require professionals; this blog will help you step by step on how to install it on wood:
1- To install 3d marble on wood, you must be sure the surface is clean, dry, and smooth.
2- Use a strong adhesive specifically designed for wood surfaces
Note: traditional thin-set mortar may not bond effectively.
3- Consider using a plywood backing.
Note: plywood backing is a layer of plywood installed behind a finished surface to strengthen the structure.
4- Press the tiles firmly by using clamps.
Note: the curing may take longer to bond to wood.
How to install 3d marble corners?
To install 3d marble corners, follow these steps:
First, cut the tiles at a precise 45-degree angle. (Use a wet saw to avoid chipping.)
Second, dry-fit to ensure a perfect 90-degree angle and smooth edges with no gaps.
Third, use a strong adhesive; it must be a high-quality adhesive. (use marble-safe adhesive.)
Fourth, Install the panel and hold it in place. (align them carefully and tape to hold.)
Last Step: Allow the adhesive to cure for 12–24 hours
How to install 3d wall panels without glue?
You can use the 3D wall panels without glue by using these methods:
- Double-sided mounting tape is a pressure-sensitive adhesive tape with adhesive on both sides.
- Mechanical fasteners: They are devices used to join multiple objects together.
- Clip systems are interlocking clip options alternative to traditional screws or nails.
Note: the 3D marble requires careful preparation and the right techniques for installation.
FAQS about How to install 3D marble
How to stick 3D wall panels to a wall?
1- Prepare the wall and panels by cleaning them and making them smooth and one level.
2- Apply the adhesive; it must be strong and high-quality for a pleasant result.
3- Install the panels and use the level to make sure they are straight and adjust as needed.
Note: Fill any gaps between panels with filler or a paintable caulk.


