
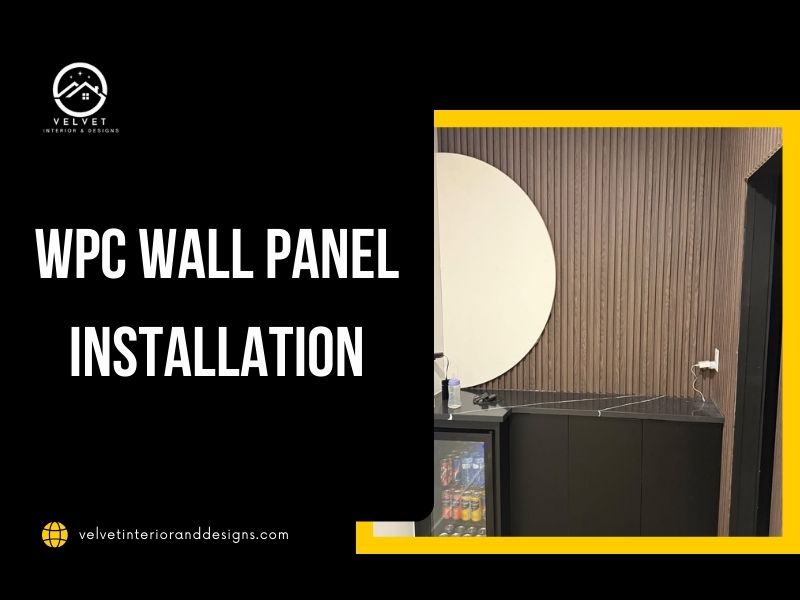
WPC wall panel installation is a great choice for modern and contemporary interiors in homes, offices, and commercial spaces. It is designed for fast and simple installation and made from wood fibers and plastic materials for durability and stability.
What makes the WPC wall panel installation a good choice for interiors is the moisture-resistant feature that makes it suitable for bathrooms and kitchens and wet areas. The second reason the installation can be done using only adhesive, with no screws needed, is because it is a lightweight material suitable for DIY Projects.
Also, the exterior wpc wall panel installation is an option too; it can be installed indoors and outdoors due to its material being engineered for harsh weather, which is resistant to water, durable, low-maintenance, eco-friendly, and resistant to cracking, warping, and termites.
How to Install WPC Wall Panels and wpc wall panel installation instructions, How to cut WPC wall panels are what we are discussing in this blog, a Step-by-Step Guide for Beginners, to deliver a clear understanding of the installation instructions and how to do it correctly to avoid the common mistakes.
How to Install WPC Wall Panels
To install WPC wall panels, you will follow the same instructions as the rest of the panels’ materials and types; first, you have to start with a standard step, which is ensuring the wall is clean and dry for smooth installation and a clean result.
- At the beginning of any installation process, it must measure the wall so you can decide the panel size to purchase.
- Plan the panel layout and mark it with lines using the level tool (the level tool in this step is a must).
- Cut the panels according to the wall measurement.
- Dry-fit the panels to check alignment before fastening them.
- Apply construction adhesive.
- Use a level to ensure panels remain straight during the installation process.
- Secure panels firmly to avoid gaps or movement.
- Install trims or finishing profiles for clean edges.
- Fill joints or seams if required for the design.
- Clean the surface and enjoy the stylish look in your new room.
WPC Wall Panel Installation Instructions
wpc wall panel installation instructions are an important actor in any installation process, especially if you are doing it by yourself.
A great tip for all panels is to always follow the manufacturer’s installation guide. And for sure ensure the walls are flat, dry, and free from dust or grease. Use the recommended adhesive comes with the panels, the maintain the small gaps between the panels by using for example tile spacers, shims, or even playing cards.
Although, avoid installing panels on uneven or damaged surfaces, and use a proper tools such as a level, drill, and measuring tape to achieve accurate and clean results.

Exterior WPC Wall Panel Installation
To install the WPC panels in exterior spaces such as roofs or open sides, use a supported subframe system, stainless steel screws and hidden clips or weather-resistant fasteners. The last thing to use is a strong adhesive such as polyurethane sealant.
Small note: leave expansion gaps to accommodate temperature changes.
You have to ensure before starting the outdoor installation that the wall surface is structurally stable before installation.
To install the panels properly in outdoor space, you better start from the bottom and move upward for clean alignment. And don’t forget to seal joints and edges to prevent water penetration.
What are the benefits of WPC wall panels
The WPC wall panels are designed to be installed in both indoor and outdoor spaces due to their durable material, water resistance, and lightweight nature, which makes them easy to install and requires less maintenance. Let’s discover together the benefits of the WPC wall panels:
- Suitable for bathrooms, kitchens, and humid areas.
- It does not easily warp, crack, or swell like natural wood; it has a long-lasting life.
- It gives you a modern wood-look finish without the maintenance of real wood.
- Simple installation process and DIY-friendly.
- It requires minimal maintenance and is easy to clean using soap and water.
- The panels can be installed over existing walls, saving renovation time.
- Many of the WPC panel designs and colors are available at Velvet Interior and Design in Canada, including fluted, slat, and smooth panel styles.
Discover Modern Wall Panels by Velvet Interior Design
Velvet Interior Design offers modern wall panels made to improve interior spaces in a simple and stylish way. The brand focuses on easy installation, practical materials, and clean decorative designs that fit homes, offices, and commercial areas. Offeriang pvc wall panels, X Series Marble Sheet, acoustic wall panels canada, and more types of panels. Their panels help people upgrade and renovate walls quickly without complicated work and at an effective cost.
FAQ about WPC Wall Panel Installation
How to attach WPC wall panel?
To attach the WPC wall panel correctly to the wall, you must clean the wall surface and wait until it is dry, then measure the wall and the panels to make sure they are suitable. After that, cut the panels to the needed size and apply the adhesive on the back.
What is the disadvantage of WPC?
- Some panels are expensive.
- It can expand slightly in very hot weather.
- The heavy impact could damage the surface.
- The sun exposure may fade the panel color.
- It has a limited repair if deep scratches happen.
Do you screw or glue wall panels?
You can screw or glue wall panels or use both of them; the glue works with the lightweight panels for smooth indoor walls, and the screws for the heavy and strong panels.
How to stick a WPC board?
- Clean the dust and dirt from the wall.
- Make the wall dry.
- Use strong and high-quality construction adhesive.
- It is preferable to apply glue in zigzag lines on the back.
- Press the board gently on the wall for 5 to 10 minutes.
- Using a level tool is a must.
